
You finally set up your seed trays and watch the first little green shoots pop up. Then they suddenly fall over and die without warning. Figuring out what went wrong can feel incredibly frustrating for any gardener.
We will walk through the exact seed starting mistakes that quietly ruin your hard work. Most indoor garden failures happen because of small setup errors you can easily fix. Avoiding these common traps keeps your plants healthy from day one. You will learn how to adjust your setup and grow strong transplants for your summer garden.
1. Using Old or Poor Quality Potting Soil
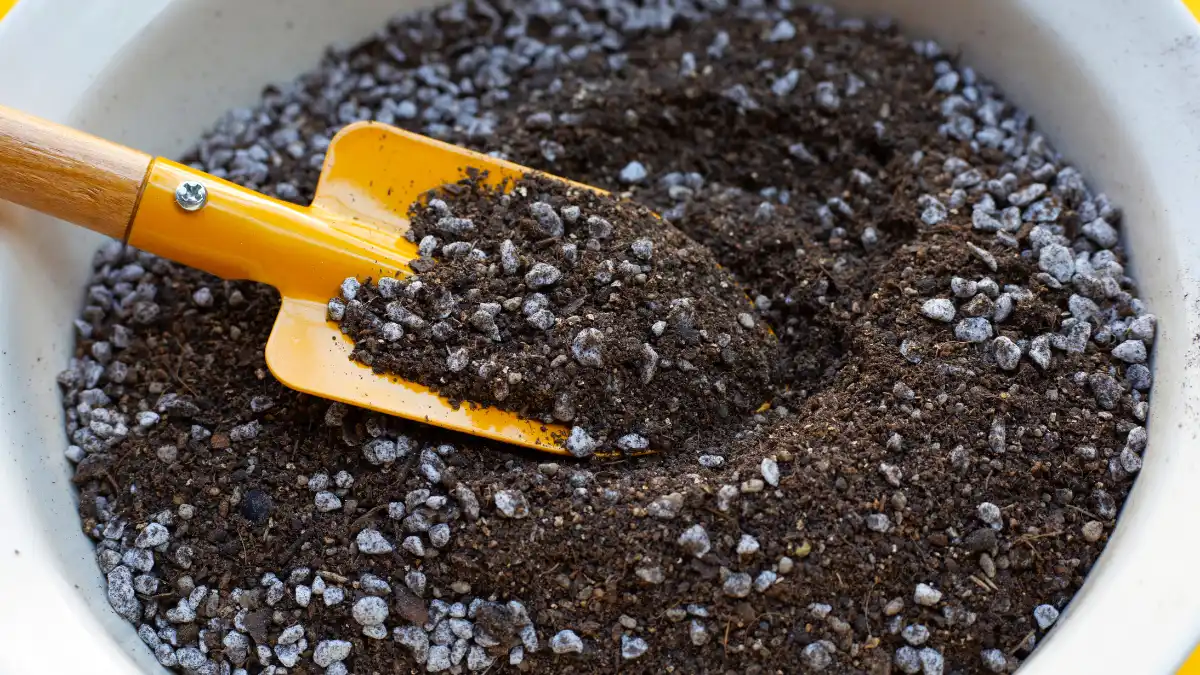
Garden dirt brings bugs and diseases straight into your house. Heavy outdoor soil also crushes delicate new roots before they can establish themselves. You need a sterile seed starting mix for the best results. Good starter soil always features a few specific traits:
- Holds moisture without getting soggy
- Contains fine particles for tiny roots
- Comes free of weed seeds and pests
Brands like Espoma or Miracle Gro make lightweight mixes that work perfectly. These sterile options give your seeds a clean slate to grow without fighting soil diseases.
2. Ignoring Light Needs and Placement
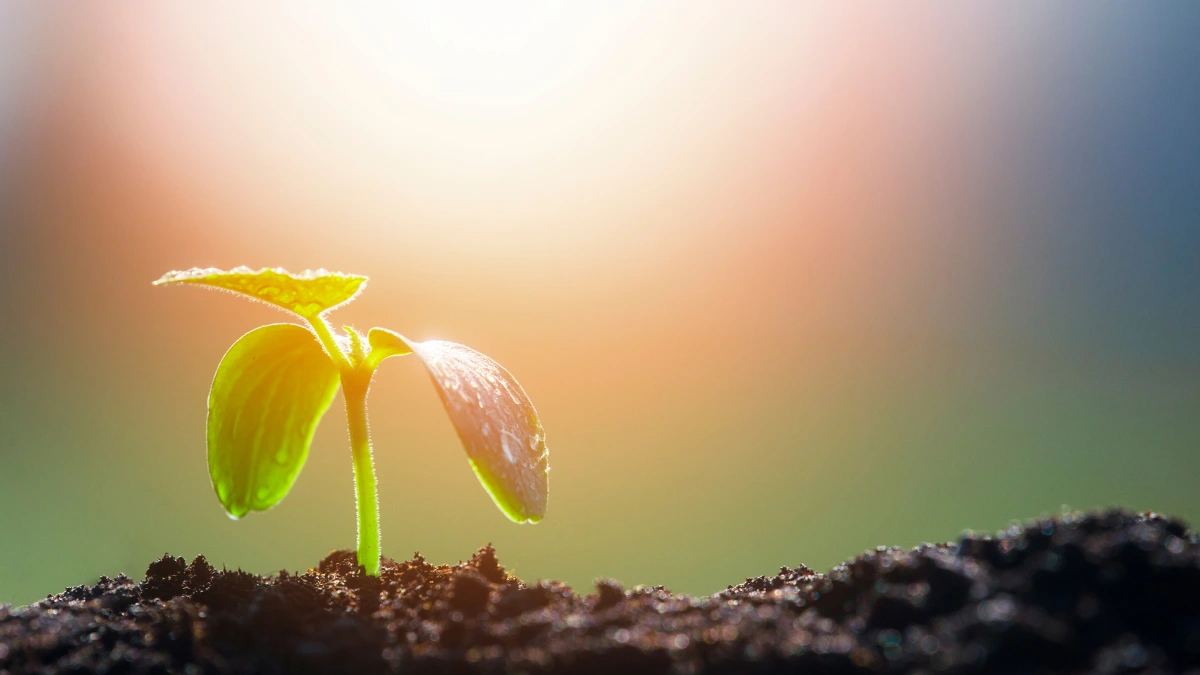
Seedlings stretch and get weak when they do not receive enough light. A sunny window simply does not provide the steady brightness most vegetables need. Placing a basic shop light two inches above the leaves stops this stretching instantly. You just need to move the light up as the plants grow taller.
Choosing the right light source makes a huge difference for starting seeds indoors. These options fit different budgets and setups.
| Light Type | Initial Cost | Growth Results |
| LED Shop Lights | Medium | Excellent and sturdy |
| Fluorescent Tubes | Low | Good but slower |
| Window Light | Free | Poor and leggy |
LED lights save electricity while providing excellent growth. Fluorescent tubes still work well if you already own them.
3. Keeping the Soil Too Cold
Seeds rot in wet dirt when the temperature stays too low. Most summer crops need soil temperatures well above normal room temperature to wake up. A simple seedling heat mat placed under your trays solves this cold problem fast. Seed companies like Burpee suggest removing the mat once the seeds finally sprout.
Different seeds prefer specific soil temperatures to sprout properly. Use this guide to set your heat mat correctly.
| Plant Type | Ideal Soil Temp | Mat Needed |
| Peppers | 80 to 85 Degrees | Yes |
| Tomatoes | 75 to 80 Degrees | Yes |
| Lettuce | 65 to 70 Degrees | No |
Tomatoes and peppers demand higher heat than lettuce. Always check the seed packet for exact temperature requirements before planting.
4. Watering From the Top Too Often
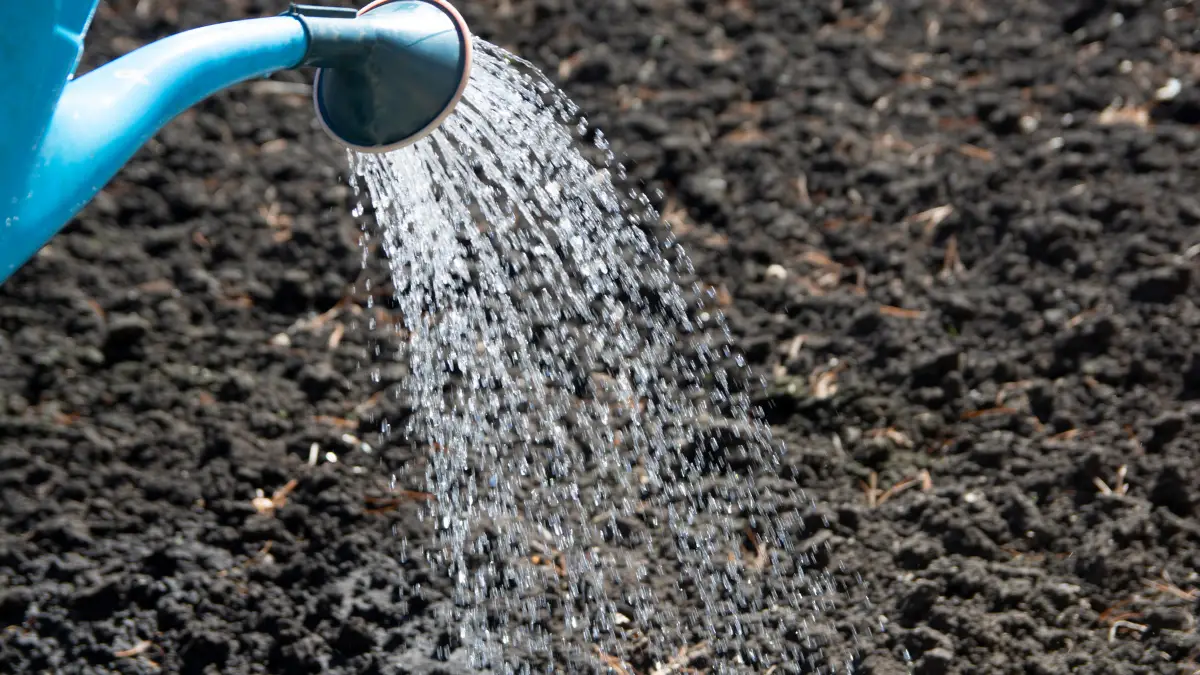
Spraying water directly on fragile leaves invites fungal diseases like dampening off. Top watering also packs the soil down and makes it hard for roots to breathe. Bottom watering gives your plants the exact amount of moisture they actually need. You just pour water into the bottom tray and let the soil soak it up naturally.
Knowing when to water prevents root rot and dry spells. Look for these signs to keep moisture levels perfect.
| Visual Sign | Soil Status | Action Required |
| Tray feels very light | Too dry | Add water to bottom tray |
| Soil looks dark brown | Perfect | Do nothing |
| Green algae on top | Too wet | Stop watering immediately |
Lifting the tray tells you immediately if the soil is dry. A light tray means it is time to add water.
5. Forgetting to Thin the Seedlings
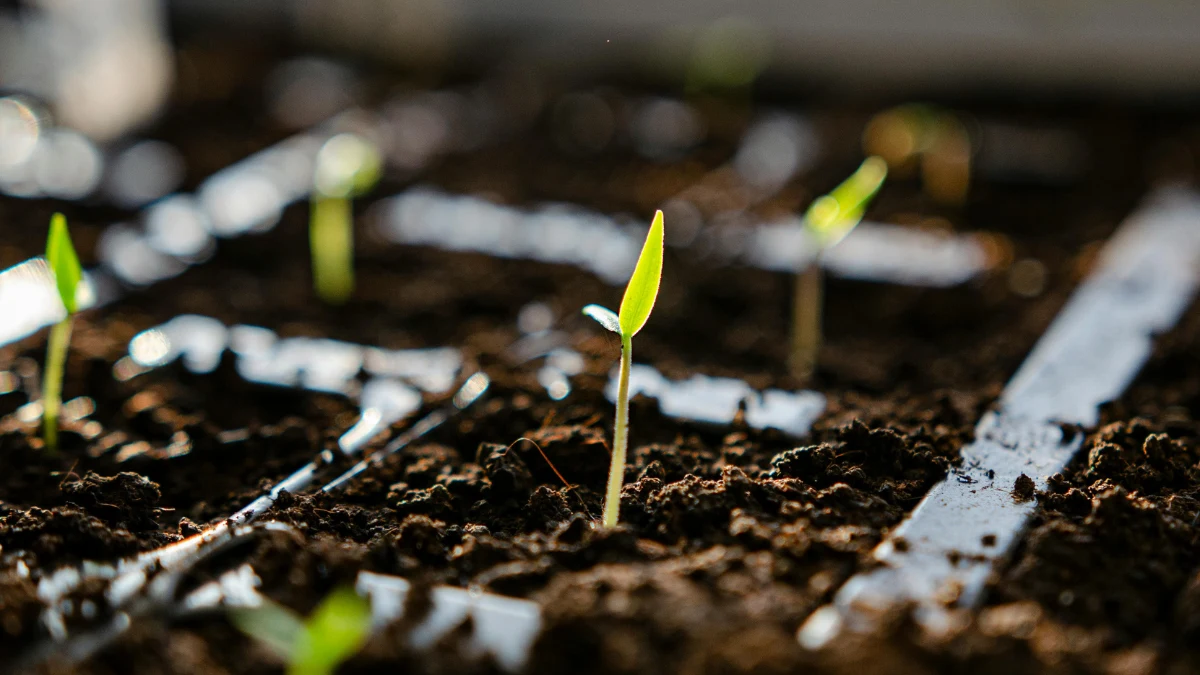
Planting three seeds per cell guarantees good germination rates for your trays. But letting all three grow together creates a brutal fight for water and root space. They will simply choke each other out.
You must snip the weakest plants at the soil line with clean scissors. Pulling them out by hand will rip up the roots of the strong plant you want to keep. Leaving just one strong plant per cell guarantees better seedling care tips and healthier growth.
6. Leaving the Humidity Dome on Too Long
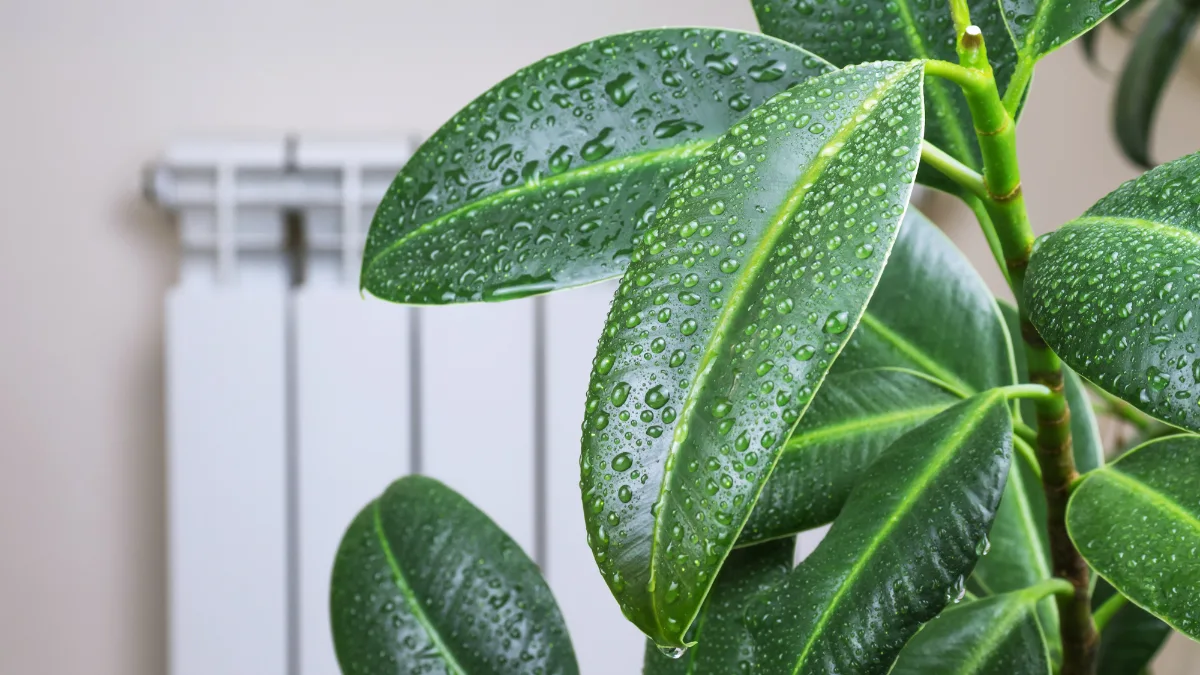
Plastic covers lock in moisture to help stubborn seeds break through their shells. Leaving that cover on after they sprout creates a humid trap for deadly mold. That excess moisture is a primary reason why seedlings die so suddenly.
You should remove the dome the second you see green leaves pop up. Fresh airflow stops fungal spores from wiping out your entire tray overnight.
7. Skipping the Air Circulation
Still air allows weak stems to grow tall without building any real strength. In nature, the wind forces baby plants to grow thick and sturdy stems. Indoor plants miss out on this natural resistance.
Setting a small oscillating fan near your trays acts just like a natural breeze. Running the fan for a few hours every day builds tough plants ready for the outdoors.
8. Feeding Them Fertilizer Too Early

New sprouts get all their early food directly from the seed itself. Adding strong chemical fertilizer too soon will burn their tiny roots instantly. You should wait until the first set of true leaves appear before feeding them. A weak dose of organic fish emulsion provides safe nutrition at this stage.
Feeding plants at the correct stage prevents severe root burn. Use this schedule to time your first fertilizer application perfectly.
| Growth Stage | Fertilizer Action | Reason |
| Just Sprouted | Do not feed | Seed provides food |
| First True Leaves | Apply half strength | Roots are delicate |
| Ready to Plant | Apply full strength | Needs max energy |
Always mix liquid fertilizers at half strength for young plants. You can increase the strength once they move into larger pots.
9. Rushing the Outdoor Hardening Process
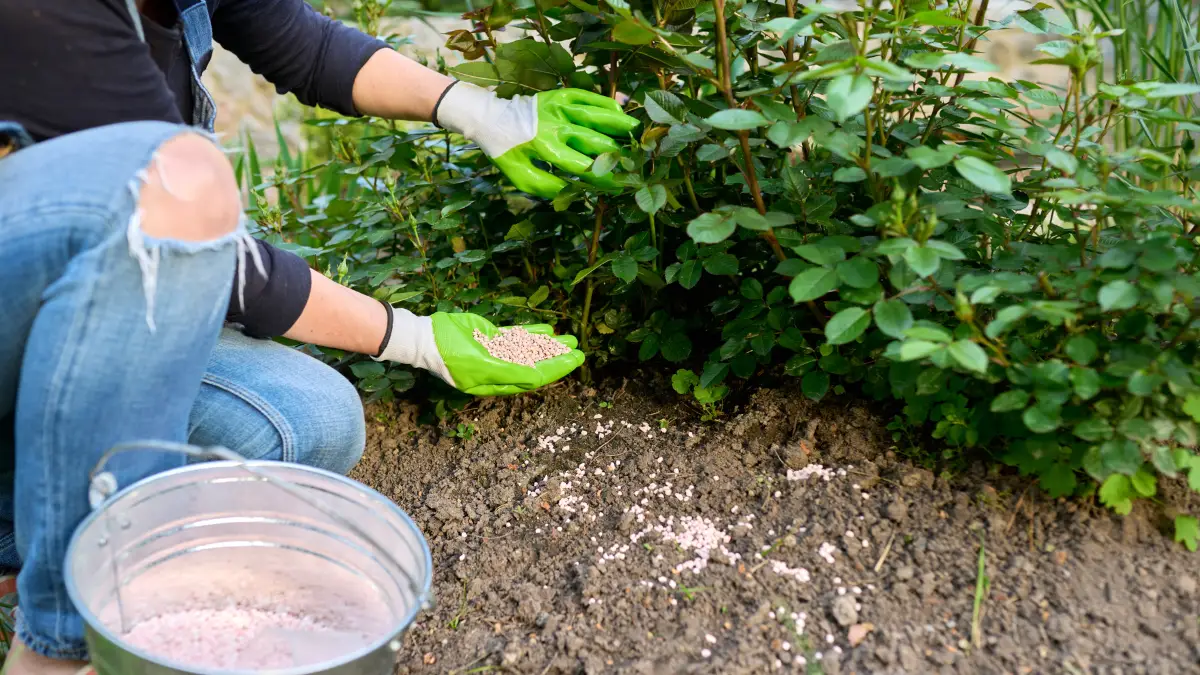
Taking indoor plants straight to a sunny garden will shock and kill them. They have never felt direct sun, strong wind, or cold night air before. They need time to adjust to their new environment.
You need to introduce them to the outdoors slowly over a full week. Place them in the shade for an hour first, then slowly increase their sun exposure each day.
Starting your own plants from scratch saves money and gives you better garden varieties. Skipping these common seed starting mistakes ensures your baby plants actually survive until spring.
Set up your lights properly, manage your soil moisture, and introduce them outside slowly. Go check your seed trays right now to see if they need more air or a quick drink.
